

Content Menu
>> Common Uses
● Preparation: The Key to a Lasting Finish
>> Sanding
● Choosing the Right Finish for Iroko
>> Oil Finishes
>>> Options: Teak oil, tung oil, Osmo Oil, Rubio Monocoat
>> Varnishes
>>> Types: Marine-grade varnish, Epifanes Woodfinish Gloss, polyurethane
>> Sealers, Waxes, and Hybrid Finishes
● Detailed Application: Step-by-Step Process
>> Indoor vs. Outdoor Treatments
● Maintenance: Keeping Iroko at Its Best
>> Periodic Resealing and Oiling
>> Mold, Mildew, and Scratch Repair
● Restorative Work: Bringing Aged Iroko Back to Life
● Troubleshooting Common Issues
● Tips for Maximizing Lifespan
● FAQ
>> 1. What is the best finish for outdoor Iroko furniture?
>> 2. Can Iroko be left unfinished?
>> 3. Why does varnish sometimes peel or fail on Iroko?
>> 4. How do you repair scratches on finished Iroko?
>> 5. How often should I reapply finish on Iroko outdoors?
Iroko wood, frequently called "African teak," is valued for its outstanding durability, rich golden tone, and resilience against moisture, insects, and decay. Used in both indoor and outdoor settings—from garden furniture and decks to architectural joinery—this exotic hardwood brings longevity and elegance to any project. Yet, its dense, oily composition presents unique finishing challenges. This article delivers a detailed, step-by-step guide on how to prepare, finish, maintain, and restore Iroko wood, ensuring lasting beauty and protection for years to come.

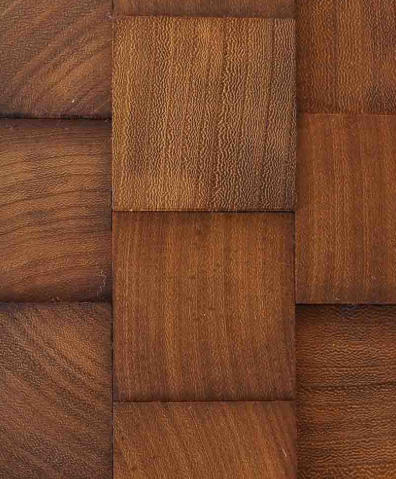
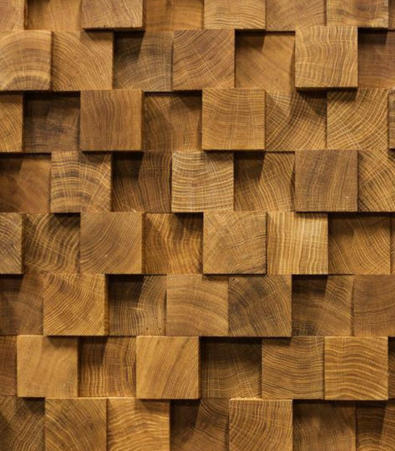
Iroko comes from tropical West Africa, featuring a coarse, interlocked grain and a golden to chocolate-brown hue. Its high oil and tannin levels make it naturally resistant to rot, fungal attack, and termites. These same ingredients, however, complicate the application of finishes, often causing adhesion problems unless careful surface preparation is performed.[1][2]
- Outdoor furniture and patios
- Doors, gates, and window frames
- Decking and marine applications
- Flooring and cabinetry
Leaving Iroko unfinished exposes it to:
- Fading to silver-gray under UV rays
- Increased risk of surface mildew or staining
- Easier moisture penetration, causing surface roughness or checks
Finishing preserves the wood's color, enhances its grain, improves cleanability, and builds a layer of defense against sun, rain, and everyday wear.[3][4]
Before finishing, Iroko's natural oils must be minimized from the surface:
- Wipe with acetone or methylated spirits; repeat with a fresh cloth until no residue appears[5][1]
- Allow the wood to acclimate and dry to a moisture content below 18%
- Avoid water-based cleaners at the degreasing stage
1. Start with 80-grit, then move up to 180–220-grit sandpaper
2. Always sand with the grain to avoid scratches
3. Remove dust between grits using a vacuum or tack cloth
4. After final sanding, repeat degreasing for maximum adhesion
- Penetrate and protect from within, enhancing the wood's natural warmth
- Ideal for low-maintenance, natural looks, and frequent touch-ups
- Require more regular reapplications outdoors (every 6–12 months)[4][3]
- Build a tough, protective film over the surface
- Offer greater UV and abrasion resistance—ideal for high-wear or exterior use
- Require proper sanding and multiple coats to prevent peeling or clouding[6]
- Hardwax oils and specialist deck sealants (like Sikkens Cetol) blend penetration with a flexible protective layer
- For indoor surfaces, paste waxes can restore and maintain luster with a natural feel[7][8]
- Acetone/methylated spirits
- Sandpaper (80, 120, 180, 220, and 320 grit)
- Dusting brushes, clean cotton rags, vacuum
- Chosen finish (oil, varnish, wax, or sealer)
- Quality brushes, foam applicators, or lint-free cloths
1. Degrease, sand, and clean thoroughly
2. Spot-test finish on a hidden area to check adhesion and color
3. Apply the first coat thinly and evenly, working with the grain
4. Allow to dry—adhere to the manufacturer's recommended time
5. Sand lightly with 320-grit between coats to smooth raised grain[6]
6. Repeat coats as recommended (3 for many oils, up to 8 for marine varnishes)
7. Final cure—leave untouched for up to 7 days before subjecting to full use
- Outdoor applications demand UV-stable finishes and regular yearly recoating[3][4]
- Indoors, hardwax oil or a blend of oil and wax offer subtle, tactile protection with less-frequent renewal[8][7]

- Dust with a lint-free cloth or use a soft brush/vacuum for debris caught in the grain[9][7]
- For stains, wipe gently with warm water and mild soap—then dry immediately
- Never use harsh chemicals, abrasives, or pressure washers, especially on finished surfaces[10]
- Apply oils or sealers at least every 6–12 months for outdoor pieces or as surfaces dull
- For waxed furniture, avoid spray polishes that dissolve wax; dust with a dry cloth instead
- Varnished surfaces may need only spot repairs; sand lightly and recoat as needed[7][4]
- For mold: Brush with a soft brush, wash with diluted soap, and ensure thorough drying
- Fill light scratches with beeswax; deep scratches may require sanding and partial refinishing[11][7]
- For cracks, low-viscosity epoxy or wood filler blends can restore stability and looks
If Iroko furniture or decking has aged, turned gray, or developed surface stains, here's how to rejuvenate it:
1. Clean the wood using a wood-specific cleaner or a DIY mild soap mix. Let dry.
2. Sand away the weathered surface—starting rough and progressing to fine grit as needed[12][11]
3. Degrease and wipe to remove lingering oils
4. Apply a wood brightener if needed to refresh color
5. Finish as described above, matching the original product if spot-repairing
Regular care can extend the time between major restorations and keep the wood looking new.
- Finish won't dry: Excess oils or high humidity; tough degreasing or longer dry times needed
- Peeling or flaking: Incompatible products, too many coats at once, or insufficient sanding between layers
- Uneven color: Inconsistent sanding, failure to clean dust between steps, or unblended repair patches[13][11]
- Protect Iroko from standing water or soggy soil—raise furniture on feet, and tilt tables/chairs after rain
- Keep surfaces clean and dry in storage
- Use felt pads indoors to prevent scratching from furniture movement
| Finish Type | Durability | UV Protection | Maintenance Frequency | Application Ease | Typical Use |
|---|---|---|---|---|---|
| Teak/hardwood oil | Medium | Low-medium | 6-12 months | Easy | Outdoor furniture |
| Marine-grade varnish | High | High | 12-24 months | Moderate-difficult | Decks, marine |
| Hardwax oil | Medium | Medium | 12-18 months | Easy | Indoor furniture |
| Paste wax | Low-medium | Low | 6-12 months | Easy | Indoor, accent |
| Acrylic/PU finish | High | Medium-high | 24-36 months | Moderate | Joinery/interior |
Finishing and maintaining Iroko wood isn't merely about aesthetic enhancement—it's essential for maximizing durability, surface smoothness, and long-term value. Mastering the sequence of degreasing, sanding, testing, and applying the right finish for the intended use will yield professional-caliber results. Annual or semi-annual checkups and surface care keep Iroko in peak condition, whether gracing a dining room or braving the elements outside. By adopting proper product choices, application techniques, and regular maintenance, Iroko investments will endure in beauty and performance for generations.

The best finish is a UV-resistant marine varnish or specialized hardwood oil like Osmo UV Oil, both of which protect against weathering, maintain color, and provide a durable surface.[4][6]
Yes, but it will soon turn gray and may harbor mildew. Finishing is strongly advised for preserving color, smoothness, and ease of cleaning, especially where appearance is prioritized.[14][7]
Peeling typically results from incomplete degreasing, using poor-quality or rigid finishes, or skipping sanding between coats. Use flexible varnishes designed for hardwood and prep thoroughly each time.[5][6]
Clean and buff light scratches with wax or a wood polish. Deeper blemishes should be lightly sanded, cleaned, and then re-treated with the original finish system.[11][7]
Most oils should be reapplied every 6–12 months; marine varnishes or UV-resistant sealers can last 2 years but should be inspected annually and recoated as needed.[3][4]
[1](https://duffieldtimber.com/the-workbench/buyers-guides/your-guide-to-iroko)
[2](https://www.wood-database.com/iroko/)
[3](https://grilloliving.com/blog/iroko-timber-care/)
[4](https://www.ruby-group.co.uk/blogs/news/iroko-maintenance)
[5](https://osmouk.com/news/iroko-gates/)
[6](https://www.youtube.com/watch?v=Sf2elek91QI)
[7](https://k-timbers.com/how-to-care-for-iroko-wood-surfaces-and-furniture/)
[8](https://www.retrouvius.com/caring-for-your-iroko/)
[9](https://stylenations.com/selecting-the-right-furniture-materials-iroko-wood-versus-teak-what-you-need-to-know)
[10](https://www.studio-henk.nl/en/maintenance/iroko)
[11](https://www.reddit.com/r/woodworking/comments/v2orif/restoring_a_neglected_iroko_patio_table_tips_to/)
[12](https://duffieldtimber.com/the-workbench/decking/timber-decking-restoration-cleaning-treatment)
[13](https://www.chatometry.com/finishing-iroko/)
[14](https://www.finewoodworking.com/forum/finishing-of-iroko-wood-indoors)
[15](https://ecochoice.co.uk/caring-for-iroko-wood-surfaces/)
[16](https://www.youtube.com/watch?v=taZhxwUp4EY)
[17](https://www.reddit.com/r/woodworking/comments/180lw1t/what_great_quality_finishsealer_should_we_use_for/)
[18](https://www.youtube.com/watch?v=ZU_9geTusec)
[19](https://www.wood-finishes-direct.com/faq/gate-finishes/faq-20190711151937)
[20](https://sawmillcreek.org/threads/best-all-natural-sealant-for-indoor-furniture-pallet-bed-frame.239788/)